
Welcome to the Honeywell T6 Installation Manual, your comprehensive guide for installing and configuring the Honeywell T6 Pro Smart Thermostat. This manual ensures safe and proper installation, providing essential steps and safety precautions to optimize your HVAC system’s performance.
1.1 Overview of the Honeywell T6 Thermostat
The Honeywell T6 Pro Smart Thermostat is a programmable, Wi-Fi-enabled device designed to enhance home comfort and energy efficiency. Compatible with 24-230V on/off and OpenTherm systems, it works seamlessly with gas boilers, heat pumps, and zone valve applications, though it is not suitable for 240V electric heating. The thermostat features a user-friendly interface, voice control via Amazon Alexa and Google Assistant, and remote management through the Honeywell Home app. It supports scheduling and advanced configuration options, ensuring precise temperature control and energy savings. With its sleek design and smart functionality, the T6 Pro is an ideal solution for modern HVAC systems.
1.2 Importance of Proper Installation
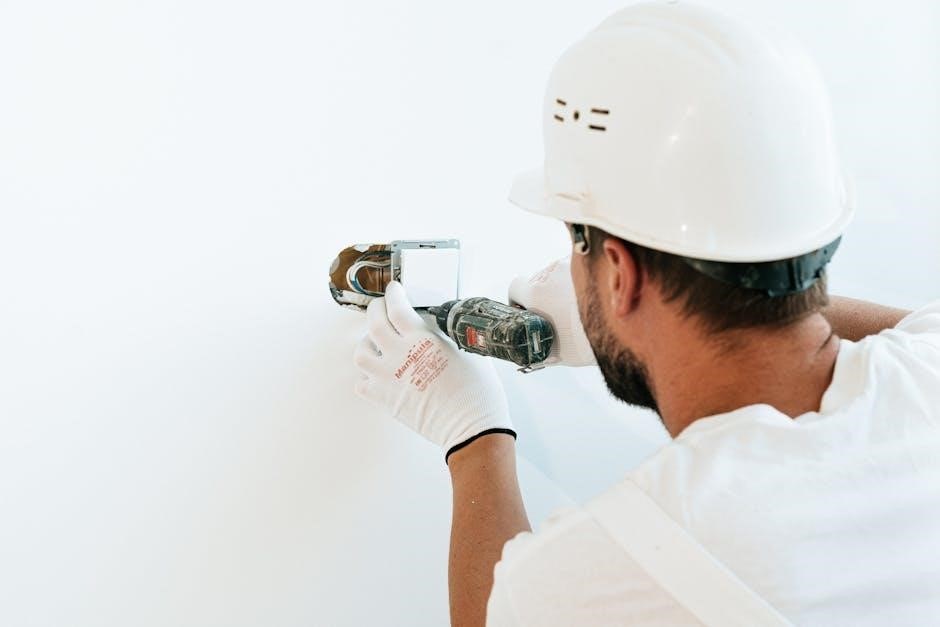
Proper installation of the Honeywell T6 thermostat is critical to ensure safe and efficient operation. Incorrect wiring or placement can lead to hazardous conditions, such as electrical shocks or system malfunctions. The thermostat must be installed by a competent person, with mains power switched off before accessing wiring. It should not be placed near heat sources, direct sunlight, or drafts, and should be mounted at least 1.2-1.5 meters above the floor. Following the manual’s guidelines ensures optimal performance, energy efficiency, and compliance with safety standards. Improper disposal of the product at the end of its life can harm the environment, so recycling is recommended.
System Requirements and Compatibility
The Honeywell T6 thermostat is compatible with 24-230V on/off and OpenTherm systems, including gas boilers, heat pumps, and zone valves. Not compatible with electric heating systems.
2.1 Compatible HVAC Systems (Gas Boilers, Heat Pumps, etc.)
The Honeywell T6 Pro Smart Thermostat is designed to work seamlessly with various HVAC systems, including gas boilers, combi-boilers, and heat pumps. It also supports zone valve applications, enabling precise temperature control across different areas of your home. However, it is not compatible with electric heating systems operating at 240V. This versatility ensures the T6 can be integrated into diverse heating setups, providing efficient and reliable performance. Always verify compatibility with your specific HVAC system before installation to ensure optimal functionality and avoid potential issues. Proper system matching guarantees enhanced comfort and energy savings.
2.2 Voltage and Wiring Requirements
The Honeywell T6 Pro Smart Thermostat operates on a 24-230V system, making it compatible with a wide range of HVAC systems. It supports both on/off and OpenTherm appliances, ensuring versatile connectivity. For wiring, a 2-wire connection is required between the receiver box and the thermostat, with a maximum cable length of 15m for 0.5mm² wire or 20m for 1.0mm² wire. The receiver box must be connected to a 230V power supply. Always use the same wires connected to the receiver box when linking to the thermostat to avoid compatibility issues. Ensure power is switched off before starting any wiring work to guarantee safety.
Safety Precautions
Always turn off mains power before accessing wiring. Avoid placing the thermostat near heat sources or direct sunlight. Ensure it is 1.2-1.5 meters above the floor. Dispose of packaging and the product responsibly at the end of its life.
3.1 Turning Off Power Before Installation
Before starting the installation, ensure the power supply to the heating system is switched off at the main electrical panel or breaker box. This prevents any accidental activation of the system, which could lead to electrical shocks or injuries. Verify that the power is off using a voltage tester if necessary. Once confirmed, proceed with disconnecting the old thermostat and wiring. Always follow this step to guarantee a safe working environment during the installation process of your Honeywell T6 Pro Smart Thermostat. Failure to do so may result in damage to the product or hazardous conditions.
3.2 Avoiding Hazardous Conditions
To ensure a safe installation, avoid placing the Honeywell T6 Pro Smart Thermostat near drafts, direct sunlight, or heat sources, as this could interfere with temperature readings. Keep it at least 1.2-1.5 meters above the floor to maintain accurate measurements. Do not install it in areas prone to moisture or near combustible materials. Ensure proper ventilation in the room to prevent overheating. Always use appropriate tools and avoid overreaching, which could lead to physical injury. By following these guidelines, you can create a safe and reliable environment for your thermostat to function effectively.
Installation Process
The Honeywell T6 installation involves preparing the site, mounting the receiver box, wiring the thermostat, and securing it to the wall. Follow each step carefully for success.
4.1 Preparing the Site for Installation
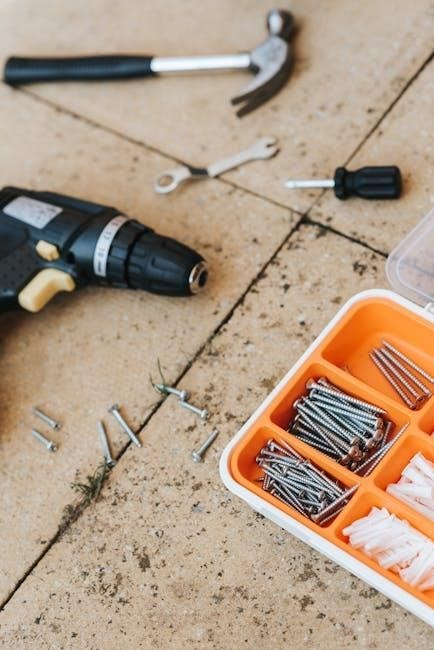
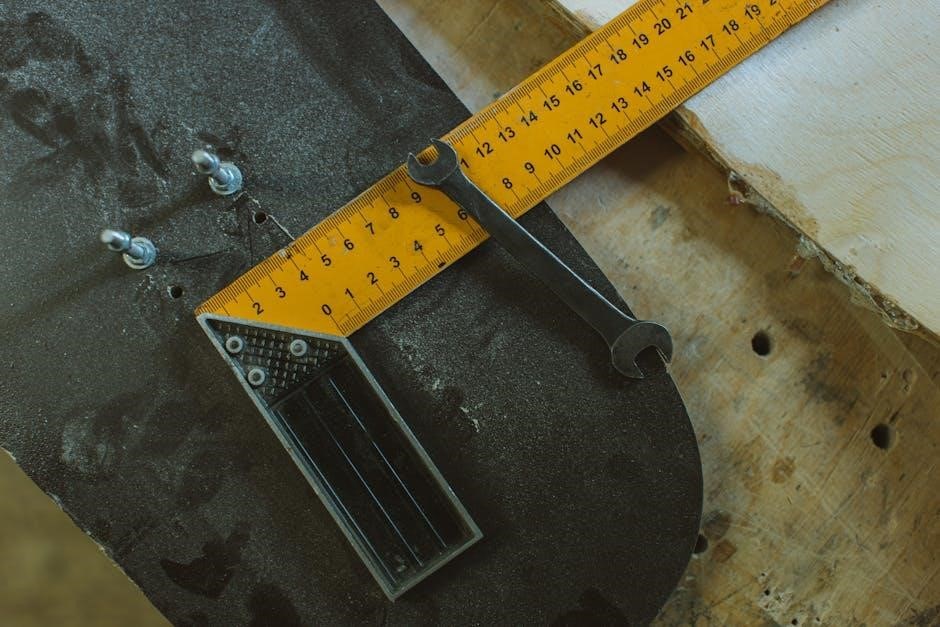
Before starting the installation, ensure the area is clear and safe. Turn off the mains power at the breaker box or switch. Locate a suitable wall position for the thermostat, ensuring it is at least 1.2-1.5 meters above the floor and away from direct sunlight, heat sources, or drafts. Gather all tools and components, including screws, anchors, and batteries. If replacing an old thermostat, take photos of the wiring for reference. Ensure the receiver box is placed near the boiler and the wiring is planned according to the cable length requirements (15m for 0.5mm² or 20m for 1.0mm² cable).
4.2 Mounting the Receiver Box
To mount the receiver box, first locate a suitable position near your boiler, ensuring easy access to wiring. Open the package and identify the receiver box (R4H810A). Level the box on the wall and mark the hole positions. Drill pilot holes for the supplied wall anchors. Insert the anchors into the wall and secure the receiver box using the provided screws. Tighten the screws firmly to ensure stability. Ensure the receiver box is correctly aligned and accessible for wiring connections to both the thermostat and the boiler. Once secured, proceed to connect the necessary wires as outlined in the wiring diagram provided.
4.3 Wiring the Thermostat
After mounting the receiver box, connect the thermostat wires to the corresponding terminals. Ensure the wiring matches the connections made to the receiver box. Use the wiring diagram provided in the manual for reference. Secure any excess wire neatly and use cable clamps for surface wiring to maintain a clean installation. Connect the two wires from the receiver box to the thermostat’s T and T terminals. Double-check all connections to avoid errors. Once wired, proceed to mount the thermostat on the wall, ensuring it is level and securely fastened. Verify the system by turning on the power and testing basic functionality.
4.4 Mounting the Thermostat on the Wall
After wiring, locate the wall plate and ensure the area is level. Position the thermostat on the wall, at least 1.2-1.5 meters above the floor, avoiding direct sunlight or heat sources. Use a level to ensure proper alignment and mark the wall for screw placement. Drill pilot holes if necessary and insert wall anchors. Secure the thermostat to the wall using the provided screws. Tighten firmly but avoid over-tightening. Ensure the device is stable and evenly mounted. Once installed, verify the thermostat’s placement and connections. Proceed to power up and test the system to ensure everything functions correctly.
Initial Setup and Configuration
After installation, power up the thermostat and follow on-screen instructions to set the clock, language, and basic settings. Access advanced options by pressing and holding the menu button for 5 seconds;
5.1 Powering Up the Thermostat
After completing the installation, turn on the mains power to both the heating appliance and the Receiver Box. The green LED on the Receiver Box will illuminate, indicating power is connected. On the thermostat, the screen will display “SETUP” to begin the initial configuration. Press the button to start the setup process, where you will select your language, set the clock format, time, and date. Once these steps are completed, the thermostat will be ready to use. If you need to access advanced settings, press and hold the menu button for 5 seconds to enter the advanced configuration menu.
5.2 Setting Up the Clock and Language
After powering up the thermostat, navigate to the setup menu to configure the clock and language settings. Select your preferred language from the options provided, such as English, French, or Spanish, using the touch-sensitive controls. Next, choose the clock format (12-hour or 24-hour) and set the current time and date. Use the touch arrows to adjust the values and confirm your selections. Once completed, the thermostat will save your preferences and transition to the home screen. Ensure accuracy in these settings to maintain proper scheduling and operation of your HVAC system.
5.3 Advanced Configuration Options
The Honeywell T6 thermostat offers advanced configuration options to customize your HVAC system’s performance. Access the advanced menu by pressing and holding the “Menu” button for 5 seconds. From here, you can adjust settings like temperature limits, heating and cooling cycles, and OpenTherm compatibility. Additionally, you can enable or disable features such as adaptive recovery, which optimizes heating or cooling before your scheduled times. For Wi-Fi-enabled models, configure network settings to connect to the Honeywell Home app for remote control. Refer to the manual for detailed instructions on each setting to ensure optimal performance tailored to your preferences. Proper configuration enhances energy efficiency and comfort.
Troubleshooting Common Issues
Common issues with the Honeywell T6 thermostat include connectivity problems, display malfunctions, or heating/cooling failures. Always start by checking power supply and wiring connections. Ensure the thermostat is properly paired with the receiver box and that all cables are securely connected. For connectivity issues, restart both the thermostat and receiver box. If the display is unresponsive, try resetting the device or replacing the batteries. Refer to the manual for detailed troubleshooting steps and solutions to resolve these issues effectively. Proper diagnosis ensures optimal performance and prevents system downtime.
6.1 Resolving Connectivity Problems
Connectivity issues with the Honeywell T6 thermostat can often be resolved by restarting the device. Ensure the thermostat and receiver box are powered off, then turn them back on. Check that all wiring connections are secure and correct. If the thermostat fails to connect to the receiver box, verify the cable connections between the two. The green LED on the receiver box should be on when powered. If issues persist, reset the thermostat by pressing and holding the menu button for 5 seconds. Additionally, ensure your Wi-Fi network is stable if using smart features. Consult the manual for detailed troubleshooting steps.
6.2 Resetting the Thermostat
Resetting the Honeywell T6 thermostat can resolve various operational issues. To perform a factory reset, press and hold the menu button for 5 seconds, then select “Factory Reset” in the advanced menu. This will restore default settings while retaining the schedule. For a hard reset, remove the batteries, press and hold the “OK” and “Cancel” buttons simultaneously, and release after 10 seconds. Reinstall the batteries to complete the reset. If connectivity issues persist, ensure the thermostat and receiver box are properly connected and powered. Some resets may require entering a 4-digit PIN, which can be found in the manual or set during initial configuration;
Congratulations! You’ve successfully installed and configured your Honeywell T6 thermostat. Proper installation ensures optimal performance, safety, and energy efficiency. Review all settings to confirm everything operates smoothly.
7.1 Final Checks and Verification
After completing the installation, perform a thorough check to ensure everything functions correctly. Verify that the thermostat powers on, displays the correct time, and responds to temperature adjustments. Test all scheduled settings and ensure the system cycles appropriately. Check for any error messages and resolve them if necessary. Confirm that the thermostat communicates with the receiver box and HVAC system seamlessly. Finally, review the wiring connections to ensure they are secure and properly connected. This verification step guarantees that your Honeywell T6 thermostat operates efficiently and meets your comfort expectations.